
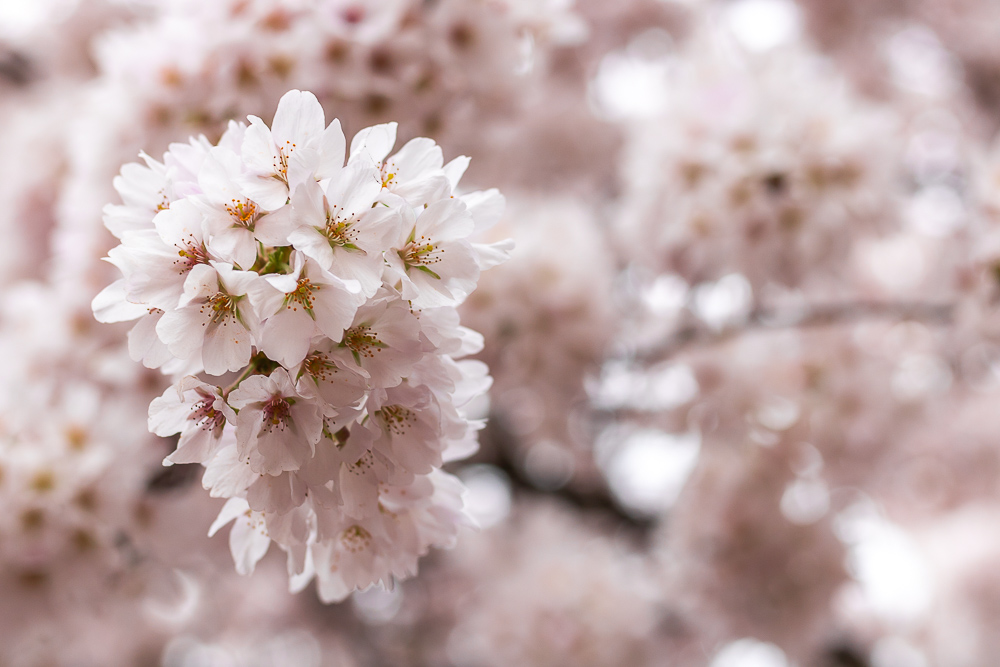
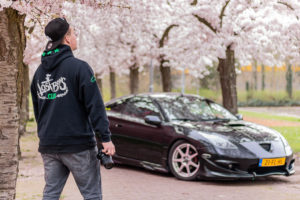
So you own a camera and you’re planning for a photoshoot. How do you achieve this? What are the important parts? In this article I’ll give you a simple overview about the key things for a perfect photoshoot!
Preparation
In my last article I already told you how important your preparation is. Believe me, if you got this, you got the whole photoshoot. But what is preparation with a photoshoot? Let’s take a look at these things:

1. What inspiration you gather
The most important thing you need at the start: the picture. What picture do you have in mind while making this photograph? Maybe you’ve seen some great work in a magazine you want to recreate or spontaniously something popped up on you mind.
Have no picture yet? Pinterest is a great source for finding inspiration, I get most of my inspiration there!
2. What gear you bring with you
Actually, this is obviously the important part. No shoot without your gear ofcourse!
It depends on what gear you got, but mostly you got a camera body and a kit-lens (that’s the lens you get when you buy a camera) This kit-lens is mostly good in any circumstances. Are you planning to buy a new lens that is cheap and good for portret photography? Then I’ll highly recommend you the “Canon EF 50mm 1.8 STM” This one is only €120 (in The Netherlands), very sharp and can create a beautiful bokeh-effect.

3. Where are you going to
So now you got the picture, we can take a look at where this shoot is going to take place. At the beach or in the woods? Maybe you even got a studio to work with. The pro of a studio is that you’re never dependent of the weather, but I prefer the fun and pureness of shooting in nature.
Do you have a location in mind? Great! Before the actual photoshoot, go to this place to investigate. How crowded is the location? Are there spots that you want to avoid or need to get in the picture?
Make sure to take your camera with you! You can already take a look at what settings you want your camera to be on. This way you don’t have to spend so much time during the photoshoot (and honestly, I feel so uncomfortable messing around with my camera while my model is waiting for me haha!) Don’t forget to bring other lenses. Sometimes it doesn’t go like you had it in your head and you do need that other lens!
We’ve got the location figured out, let’s go to the next step!
4. What are you planning to do
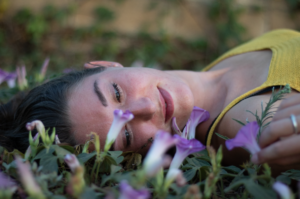
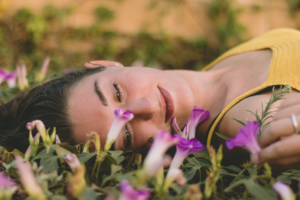
Your model also needs to know what the plan is and what he/she can expect. So before you ask someone to model for you, have a plan. You already got the inspiration and the picture, think about what your model needs to be wearing and what make-up she needs to wear. (Bold or natural. Bold is nice for studio or indoors, natural is better in nature). Also think about what poses she needs to express in the pictures.
5. Who do you take with you
Maybe you already knew who you wanted to ask for this since the beginning of the list. Your best friend, your sister or even your parents? Do ask these people around you before you go to photoshoots with strangers. They will love working with you and also they’ll have some nice pictures in the end. It’s also much more comfortable working with people that stand close to you.
6. When are you going
As I said before, when you shoot outside you’re dependent of the weather. So make sure to keep checking the weather. I had one time that I planned a shoot with my sis in law and her dogs on the beach, but it turned out to be raining all day long. We decided to do the shoot inside and plan another day for a beach shoot.
So when the weather really looks like it’s going to be a bummer, decide to reschedule it or to shoot in inside.
Welp, we’re done preparing everything. Let’s go to the actual work!
The photoshoot
You’re on the location with your model, everthing is looking great. Let’s take a look at the important things for the actual shoot!
The opinions are devided about this, but I think it’s better to take a lot of pictures than just a few.
Yes, there’s more work sorting them out, but you can be sure you got the shoot. So shoot like your life is on the line, but make sure you enjoy the photoshoot!
Where your focus should be
While your shooting, keep an eye on these things. At the beginning of the shoot, make about 5 testshots to review the lighting, shutterspeed and your ISO. You don’t have to shoot in Manual, when there’s enough daylight it’s better to switch to AV (Canon camera: Aperture priority) Now you’re only changing your aperture. Most times, your camera will get the right shutter speed while shooting.
Remember: Shoot in RAW. This way your camera wil save up more information of your picture, making it easier to edit it. Each file (each picture) will be bigger than usual, so your memory card will be filled up quicker. Make sure to take another one with you while shooting!
Also figure out what program you want to edit you pictures with. Some programs don’t accept RAW pictures. If the program you’re going to work with doesn’t accept RAW files (or you’re not sure), shoot in L+RAW. You’re camera will save the pictures in RAW and JPEG.
If you find out after 10 shots that the lighting isn’t right or that your shutter speed is too slow, make the shots again! This happened to me to many times and I regret not taking the time to remake them. Mistakes are there to learn from them 😉

Keep your eye also on your model. You are the one with the picture in mind and the one leading the photoshoot. Do tell your model if she needs to take another pose or have to show another expression.
Tip: If you want to loosen the shoot, take a music box with you and put some jams up that resemble the vibe you’re trying to create!
The shoot is done, you’re really excited about the shots you’ve taken. Let’s go to the last step, editing your pictures.
Editing your pictures
Time to make the picture complete! What program are you planning on using?
The best I can recommend you are the programs from Adobe. I use “Lightroom Classic CC”. An extended photo editing program that gives you everyting. It does take some time to figure out how it works. If you want a easy to use program, the little brother, then take a look at “Lightroom CC”. This program is more simple and also accepts RAW files.
Ofcourse you can also use “Photoshop”, but I only use that to give a picture the finishing touches.
These programs are paid ones. If you are planning on buying any of these programs, I reccomend you taking a subscription. If you only buy the programs, you won’t get any of the updates from the programs. An subscription at Adobe with “Lightroom Classic CC”, “Lightroom CC” and “Photoshop” with 20GB cloudstorage is €12,09/$14,05 per month. This is their “Photography” package.
There are also a lot of free programs. I don’t have experience with any but here is a vid from Tony and Chelsea Northrup Photography. Tony tells about two different free programs for editing your pictures.
Your focus while editing
While using “Lightroom Classic CC”: Import your pictures. Lightroom has got a very handy tool while editing: “AUTO”. With this button, your pictures won’t be under- or overexposed. Now your pictures will look a bit dull, right? Well get on and play with all the tools Lightroom got! Make the picture however you like it.
In the left of your editing view, you see “Presets”. A lot of photographers sell these presets. They are settings in one package, ready to use on your picture. With this your picture don’t need much editing after it. If you look in the right place, photographers also give some presets away for free!
A piece of graphic
The exporting (saving) of your pictures is a tough one, because you need to tell the computer how exactly you want your picture to be like.
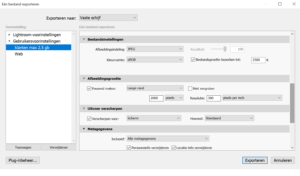
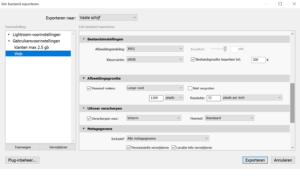
I’ll give you some examples on the settings I use (sorry, it is in dutch, but the view is the same so I think you can still use it 😉 )
Big pictures up to 2.5mb:
If you are using these pictures for a website, you need to make them smaller in mb’s. Otherwise your website will get super slow if you use 10 pics with the settings above.
Use these ones instead:
And you’re done!
Thanks for reading, please show me your pictures, I’m really curious!
Much love, Joy
No comments yet. Be the first one to leave a thought.