

Hi everyone!
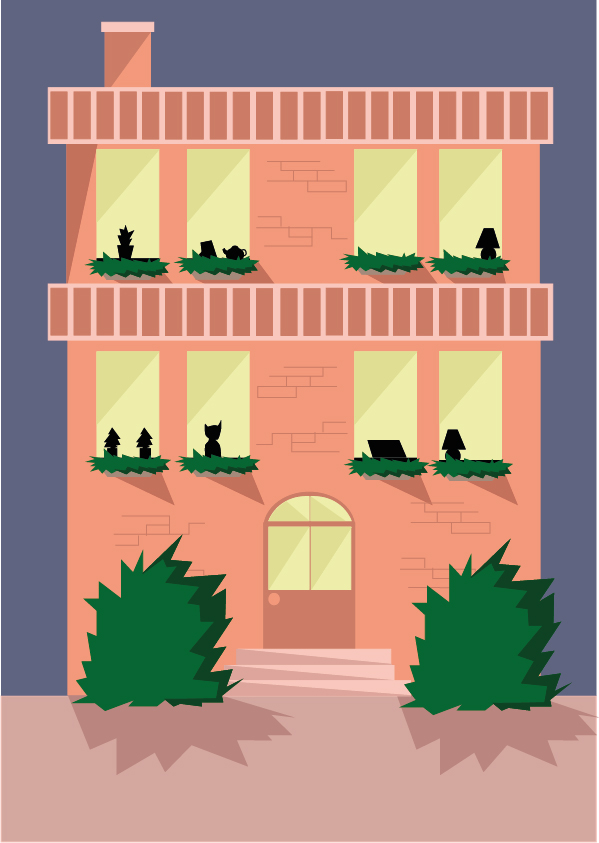
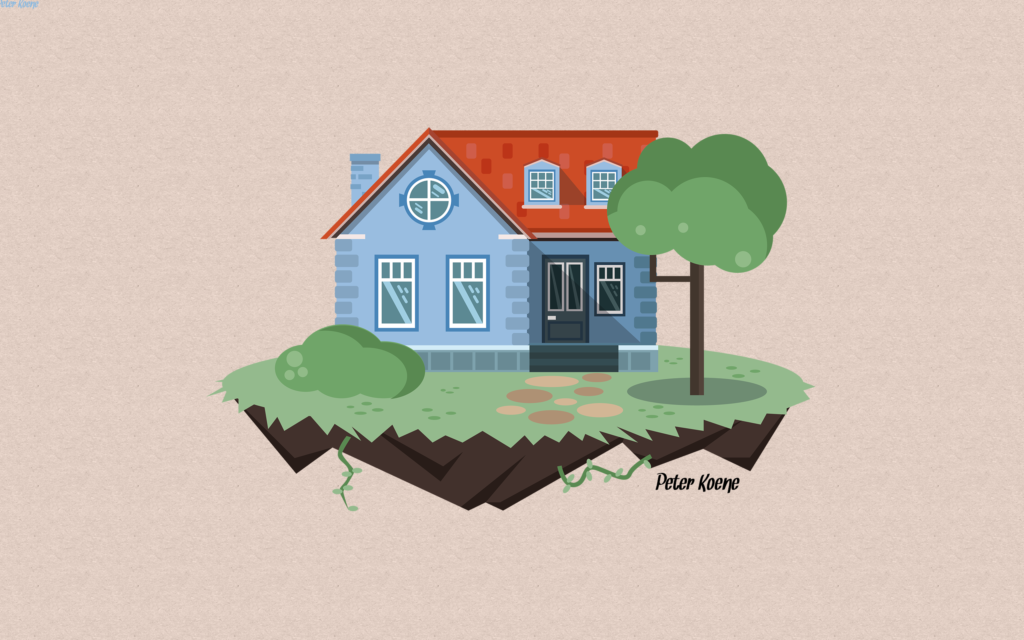
You might have noticed the illustrations on our website – for example our team illustration picture! For this week I thought it would be fun to get you through the process of how I create these illustrations in Adobe Illustrator.
We all have our ways to illustrate, some of us like to pick up a pencil and a piece of paper while others furiously start sketching on their tablet and work digitally. I belong to this latter category: digital illustration.
How did I start with illustrating?
As a student in graphic design, the ability to illustrate is quite handy, although not an absolute must. I wanted to put more personality into the products I design, so I started to play around with illustrator. In the beginning I was not always that happy with my results, but after watching many tutorials and a lot of practice I have improved noticeably.
Adobe Illustrator.
The program that I mainly use for illustrating is Adobe Illustrator. This is a professional program that charges a yearly fee. In this program you can easily draw free-hand, but you can also pick existing shapes and build up your drawing using these. As I like to use my trackpad, I mainly use these premade shapes in combination with the pen tool to create my own original shapes.


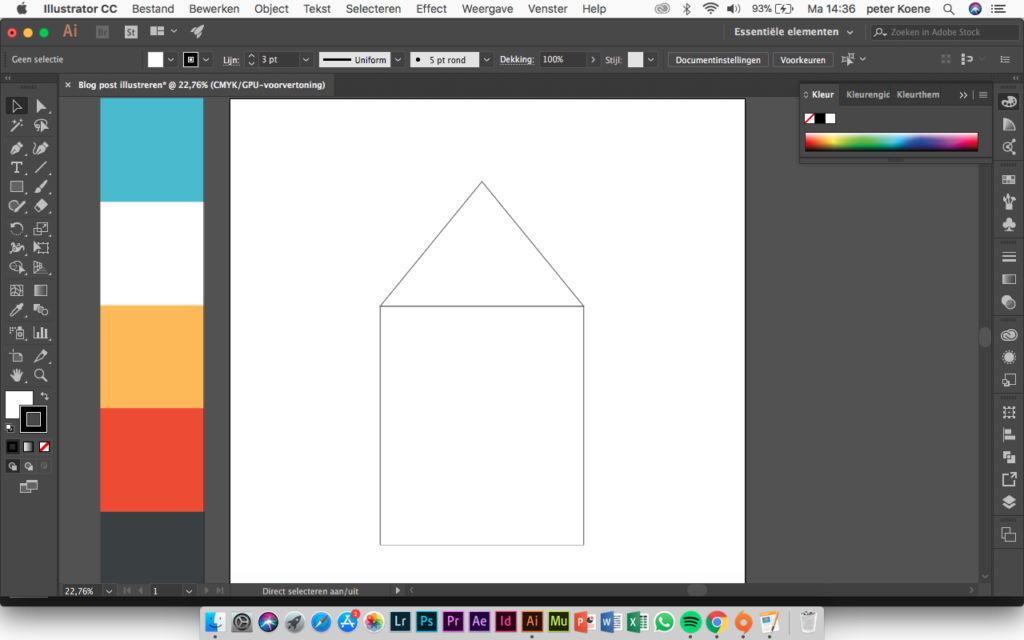
How to create an illustration (in Adobe Illustrator)? (here: we will design a cute house)
- First you will create a new file! Personally I like to work on a big canvas, but this is optional of course.
- Next, you have to come up with an idea of what you want to create. To make sure your illustration looks wholesome, it is nice to choose your color scheme beforehand. A nice tool to help build color schemes can be found on http://color.adobe.com/create/color-wheel – you can choose your own colors, or choose one of the color palettes created by Adobe.
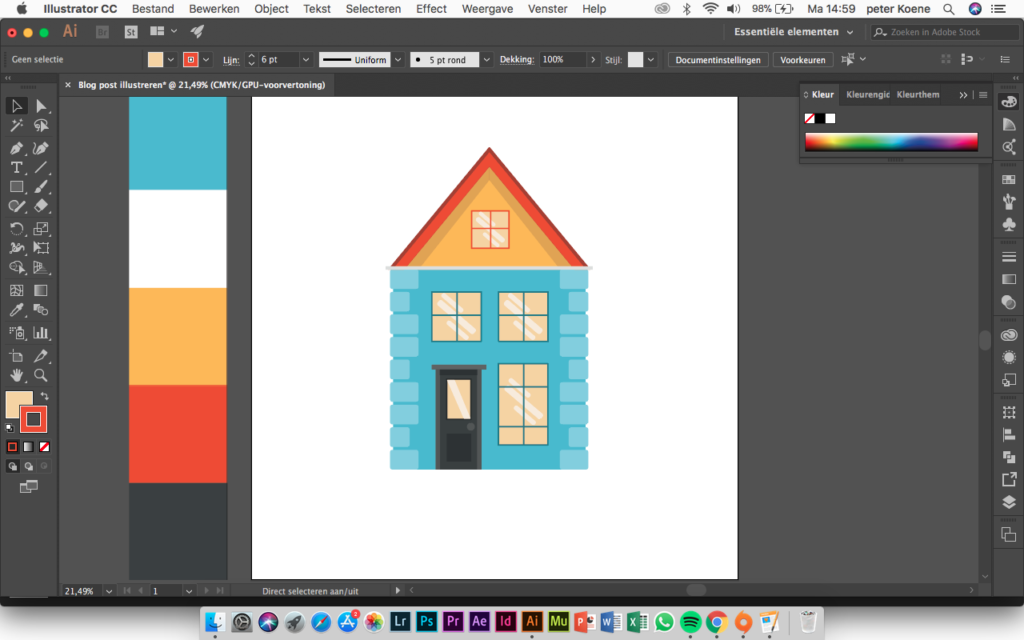
- As soon as your idea is clear, and you have your color scheme ready, we can start! It is convenient to start using basic shapes. The house we want to create is roughly build out of a square and a triangle on top, representing the roof. Draw this triangle form with the pen tool.
- Add base colors to your small house and try to create some details with the pen tool or shapes in the program. For the shadows and detailing you can easily pick a slightly darker or lighter tone of the colors in your color scheme.
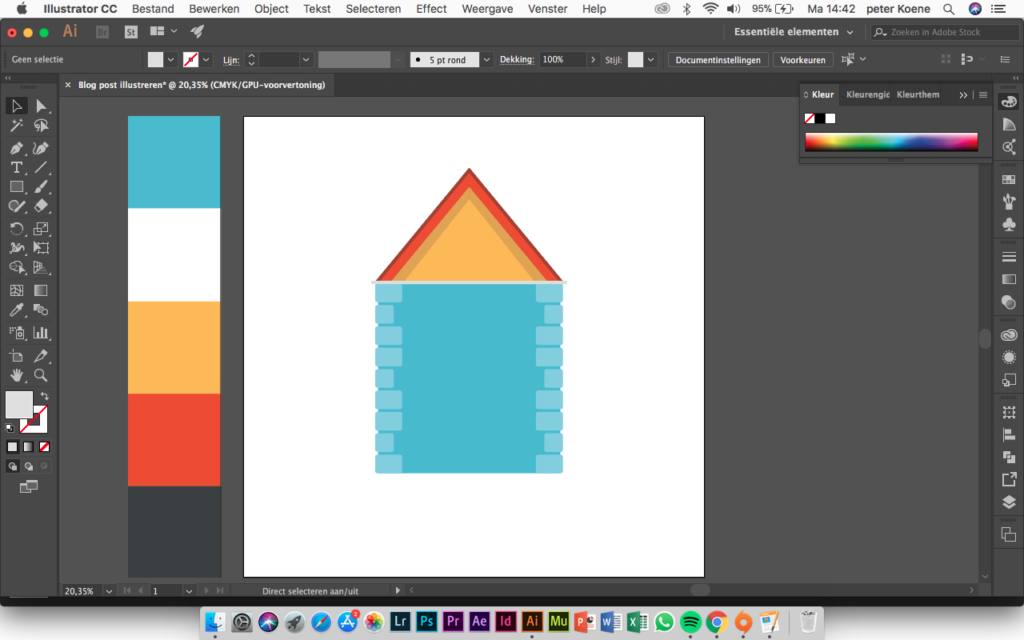
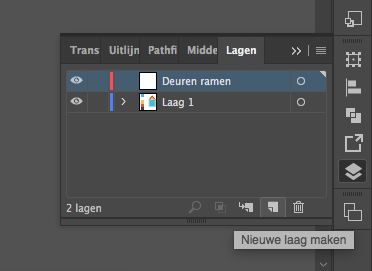
- Next we create a new layer in illustrator in which we can make the doors and windows. Again you can use basic shapes.
- After adding these doors and windows to your house we can start the final the detailing. We can add a chimney, some planters, a cute garden fence or whatever comes to mind!
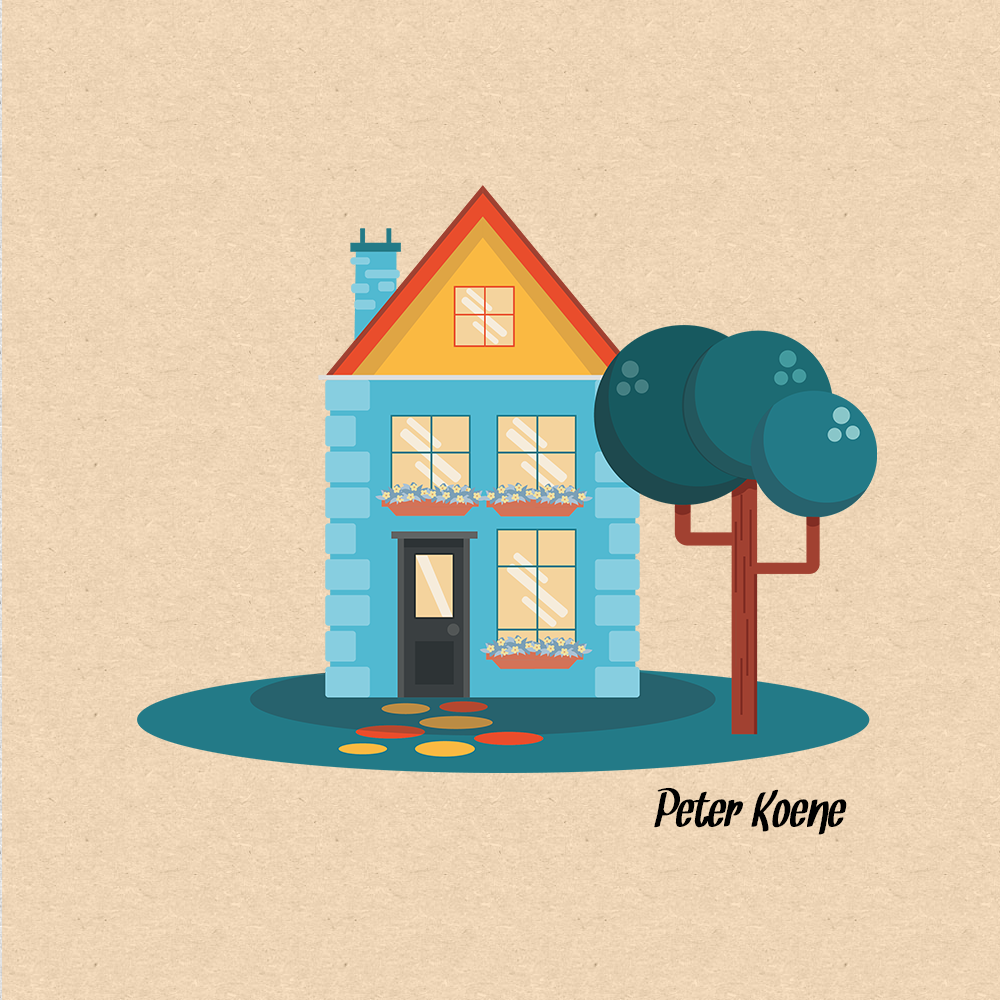
Your illustration is finished! As finishing touch I often add a nicely matching background color or add some additional shadows. Options are endless, this is completely up to you!
I hope you have learned something from this mini tutorial and that you can now start creating these yourselves! I look forward to seeing your creations 🙂
Peter
No comments yet. Be the first one to leave a thought.